


Store-bought bread was my ultimate weakness. The convenience factor was undeniable, especially during those hectic mornings when breakfast was a grab-and-go affair. But let’s be real, store-bought bread can be a bit, well, boring. It dries out fast, the taste can be one-dimensional, and sometimes, you just crave something a little more special.
Enter my grandma’s secret weapon: rice bread. This wasn’t your average loaf – it was a revelation! Imagine the most incredibly soft and fluffy bread, with a subtle sweetness and a hint of nuttiness. Every bite was a delightful surprise, and it toasted like a dream.
The best part? This magical bread came together with pantry staples and a handful of common vegetables. Plus, unlike some intimidating bread recipes, this one was surprisingly easy. No fancy equipment or hours of babysitting the dough were required. Just a little time and love, and you’re rewarded with a warm, homemade loaf that puts store-bought bread to shame.
So, ditch the store-bought stuff and get ready to experience bread in a whole new way. With my grandma’s recipe by your side, you’ll be a bread-making pro in no time!
Here’s why I love this recipe:
- Unique Flavor: The combination of rice and wheat flour creates a slightly sweet and nutty flavor that’s unlike any other bread.
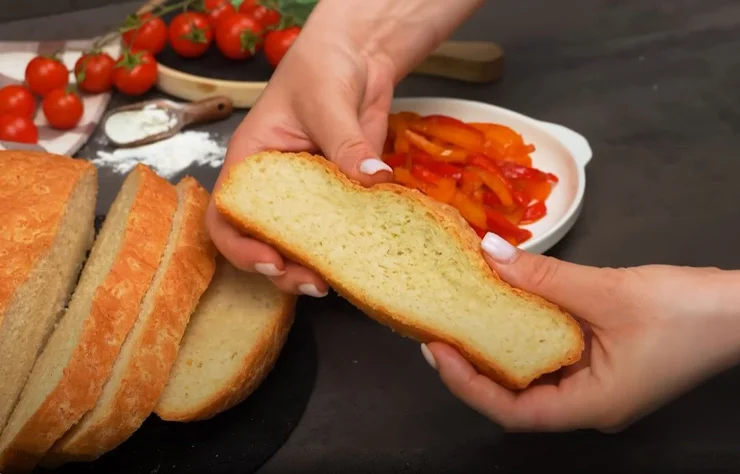
- Incredibly Soft: The rice flour makes the crumb unbelievably soft and tender, perfect for sandwiches or toasting.
- Easy to Make: This recipe requires no fancy equipment or techniques. Just follow the steps, and you’ll be a bread-making pro in no time!
Now, let’s get baking!
Ingredients
For the Rice Base:
- 200 g (7 oz) rice
- 350 ml (11.83 fl oz) water
For the Dough:
- 100 ml (3.4 fl oz) warm milk
- 10 g (0.35 oz) sugar
- 6 g (0.21 oz) yeast
- 3 g (0.11 oz) salt
- 300 g (10.6 oz) flour
- 30 ml (1 fl oz) oil
For the Topping (Optional):
- 50 g (1.76 oz) red bell pepper, diced
- 50 g (1.76 oz) yellow bell pepper, diced
- 1 onion, diced
- 3 cloves garlic, minced
- 20 ml (0.7 fl oz) oil
- 8 g (0.29 oz) salt
- 30 g (1 oz) tomato paste
- 15 g fresh parsley, chopped (for garnish)
Instructions
- Cook the Rice: In a pot, combine the rice and water. Bring to a boil, then reduce heat and simmer for 15 minutes. Drain the rice and spread it on a baking sheet to cool completely.
- Activate the Yeast: In a bowl, whisk together the warm milk, sugar, and yeast. Let it sit for 10 minutes until foamy.
- Make the Dough: In a large bowl, combine the cooled rice, yeast mixture, salt, flour, and oil. Use a dough hook or your hand to knead for about 5 minutes until a smooth and elastic dough forms.
- First Rise: Place the dough in a greased bowl, cover it with plastic wrap, and let it rise in a warm place for 1 hour, or until doubled in size.
- Shape and Second Rise: Grease a baking tray (ideally 23 cm or 9 inches in diameter). Punch down the dough and shape it into a round loaf. Place it on the prepared baking tray, cover it loosely with plastic wrap, and let it rise for another 20 minutes.
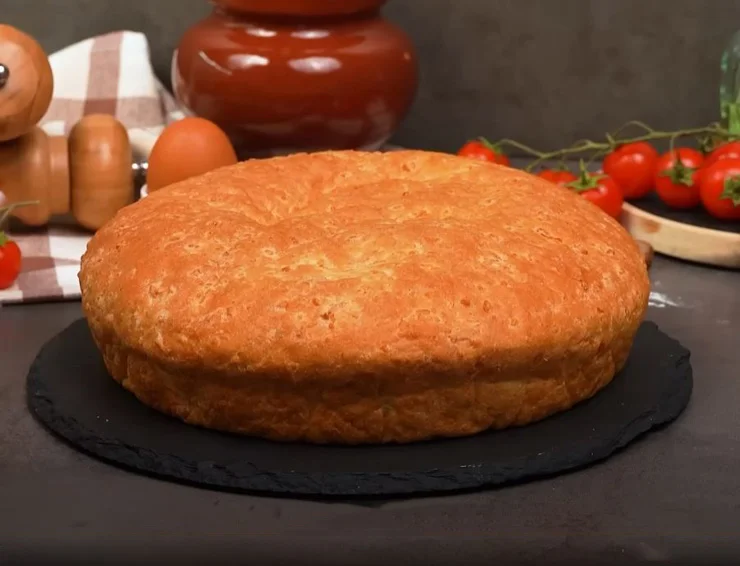
- Bake the Bread: Preheat your oven to 180°C (356°F). While the oven preheats, you can prepare your optional topping (see below). Once preheated, bake the bread for 45 minutes, or until golden brown on top.
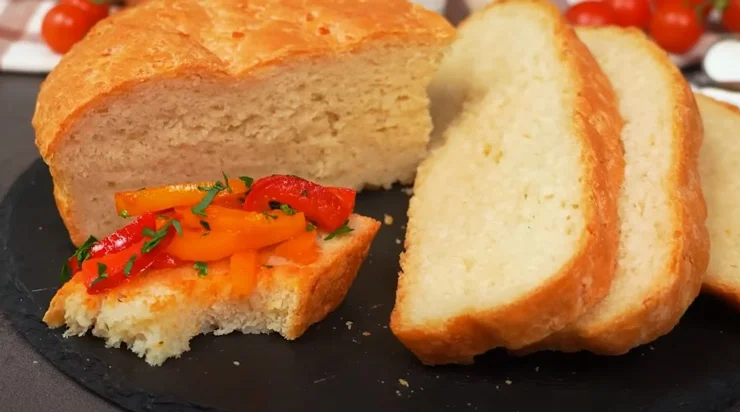
- Optional Topping: While the bread is rising for the second time, sauté the diced peppers, onion, and garlic in olive oil until softened. Add the tomato paste, salt, and a splash of water. Simmer for 5 minutes, then remove from heat and set aside.
- Enjoy! Once the bread is golden brown, remove it from the oven and let it cool slightly on a wire rack. Brush the top with the optional veggie mixture (or leave it plain) and garnish with fresh parsley. Slice and enjoy your warm, fluffy homemade rice bread!
Tips
- For a richer flavor, substitute some of the water used to cook the rice with chicken or vegetable broth.
- This bread is best enjoyed fresh, but you can store leftovers in an airtight container at room temperature for up to 2 days, or freeze for longer storage.


